Booting the HP 712
The HP 9000 workstations’ industrial design inspires me - the 300 series was on my mind the week before I bought my first pizzabox:
why did we stop making computers that looked like :( pic.twitter.com/xBYUcnTaIe
— cron mom (@sophaskins) July 10, 2017
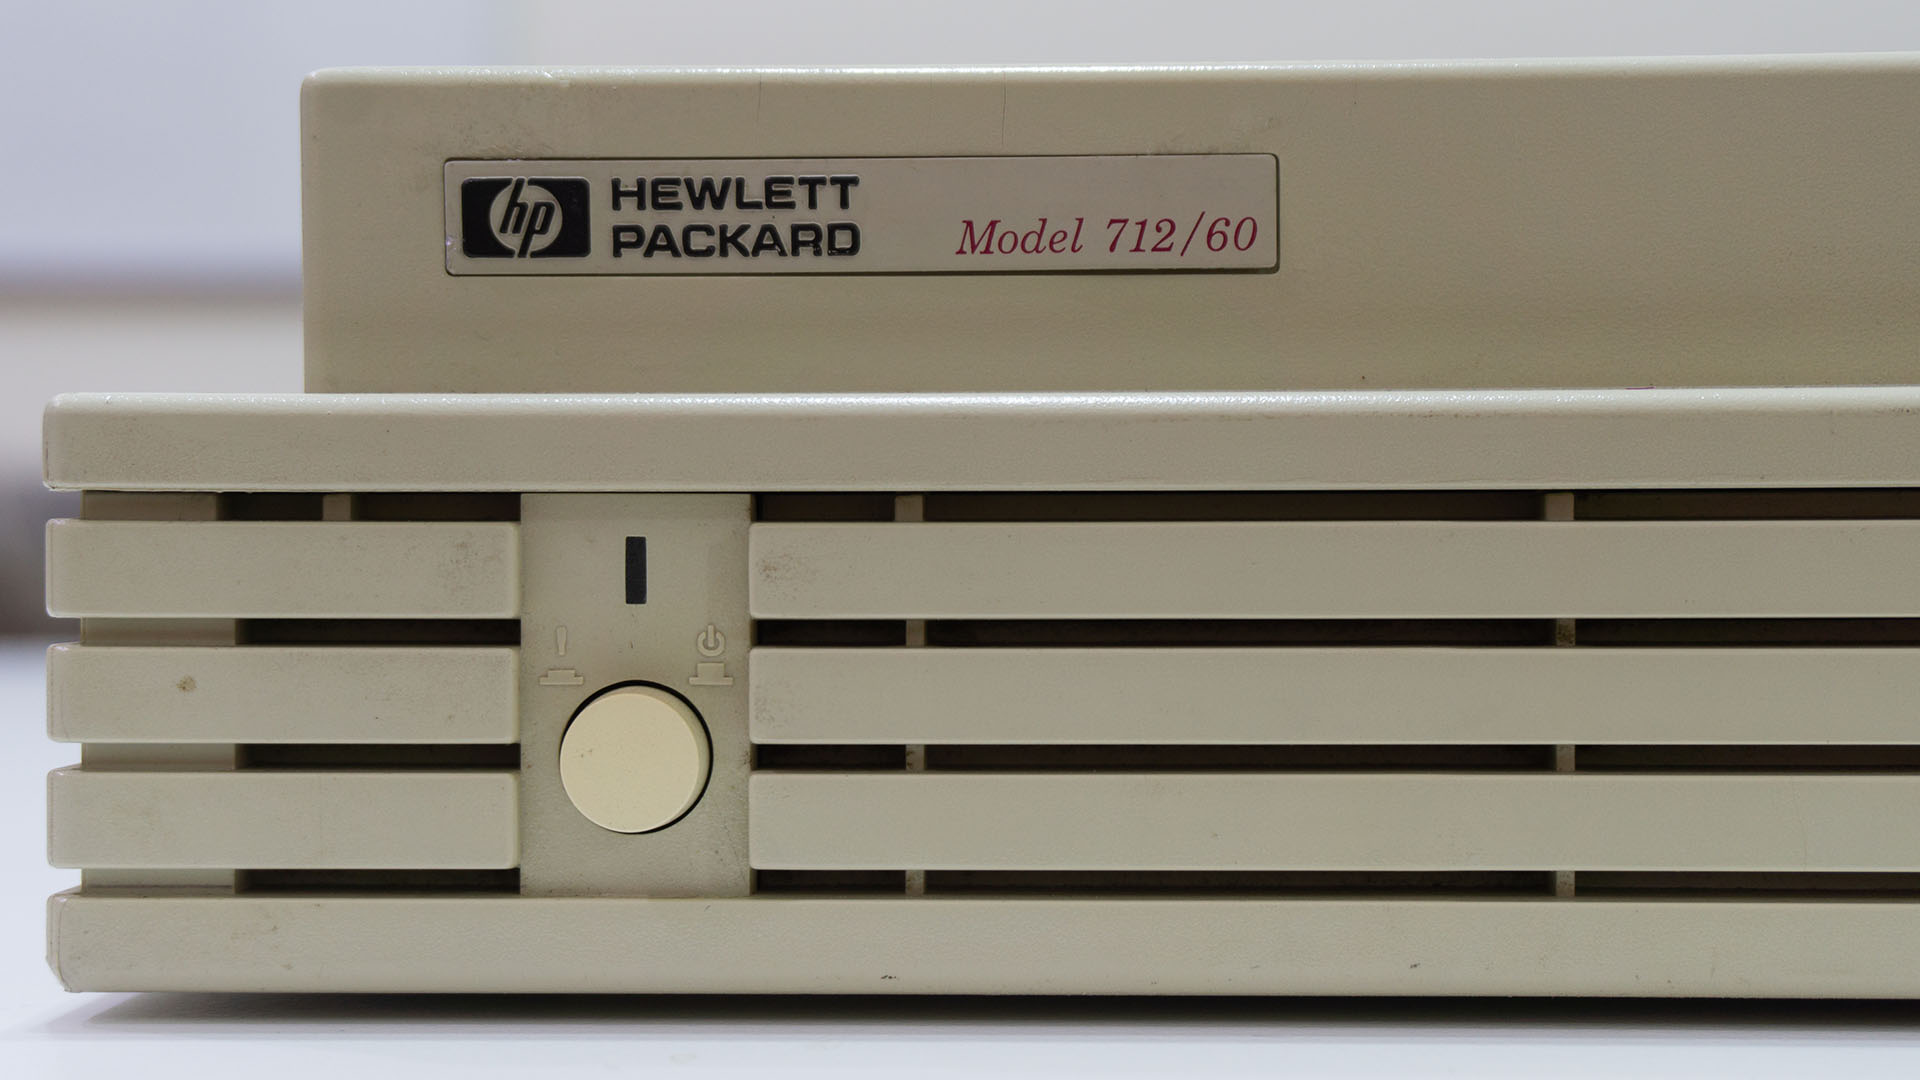
There’s just something about that densely lined grille - it’s clear that a lot of effort went in to its construction. Contemporaneous PCs looked like a pile of parts, different shades of plastic clashing, chosen based on what was cheapest at the time. The 9000, on the other hand, had a whole system of peripherals that had similar ergonomics and design available from HP. The dense lines from 1985’s 310 were clearly still part of the design DNA in 1999’s C360.
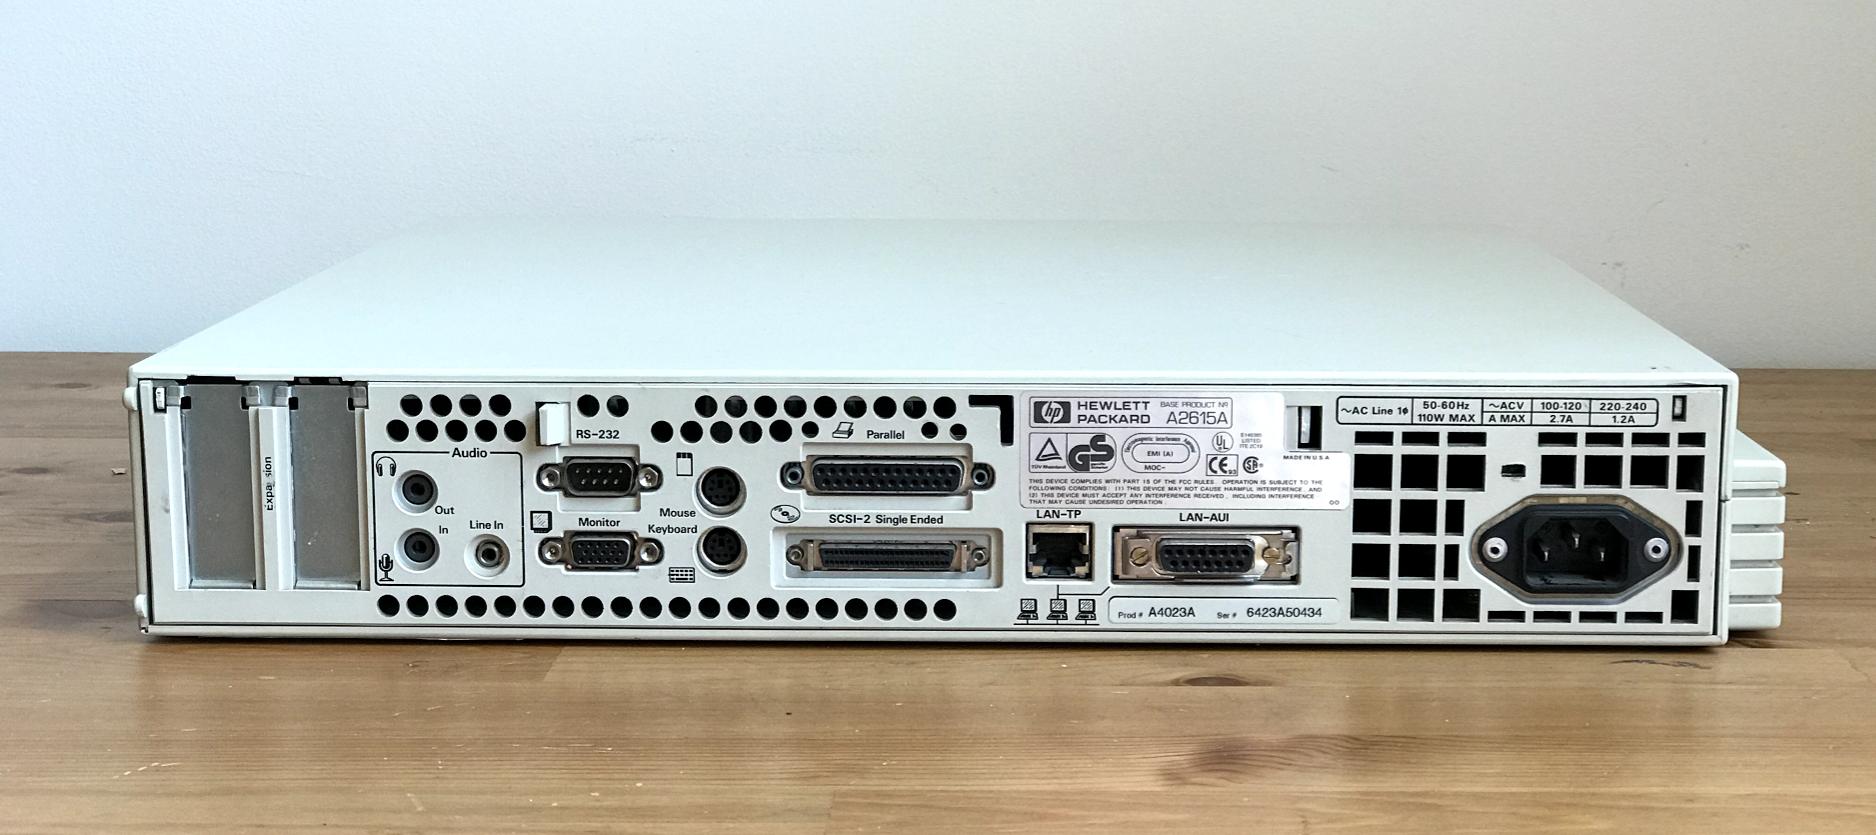
My HP 9000 Model 712 is from the early PA-RISC years. It’s quite slim (70mm), extremely solid (the plastic has aged very well), and thoughtfully designed. That thoughtfulness shows in its clearly labeled rear:
and even in the beautiful POST screen (even modern PCs don’t look this good!):
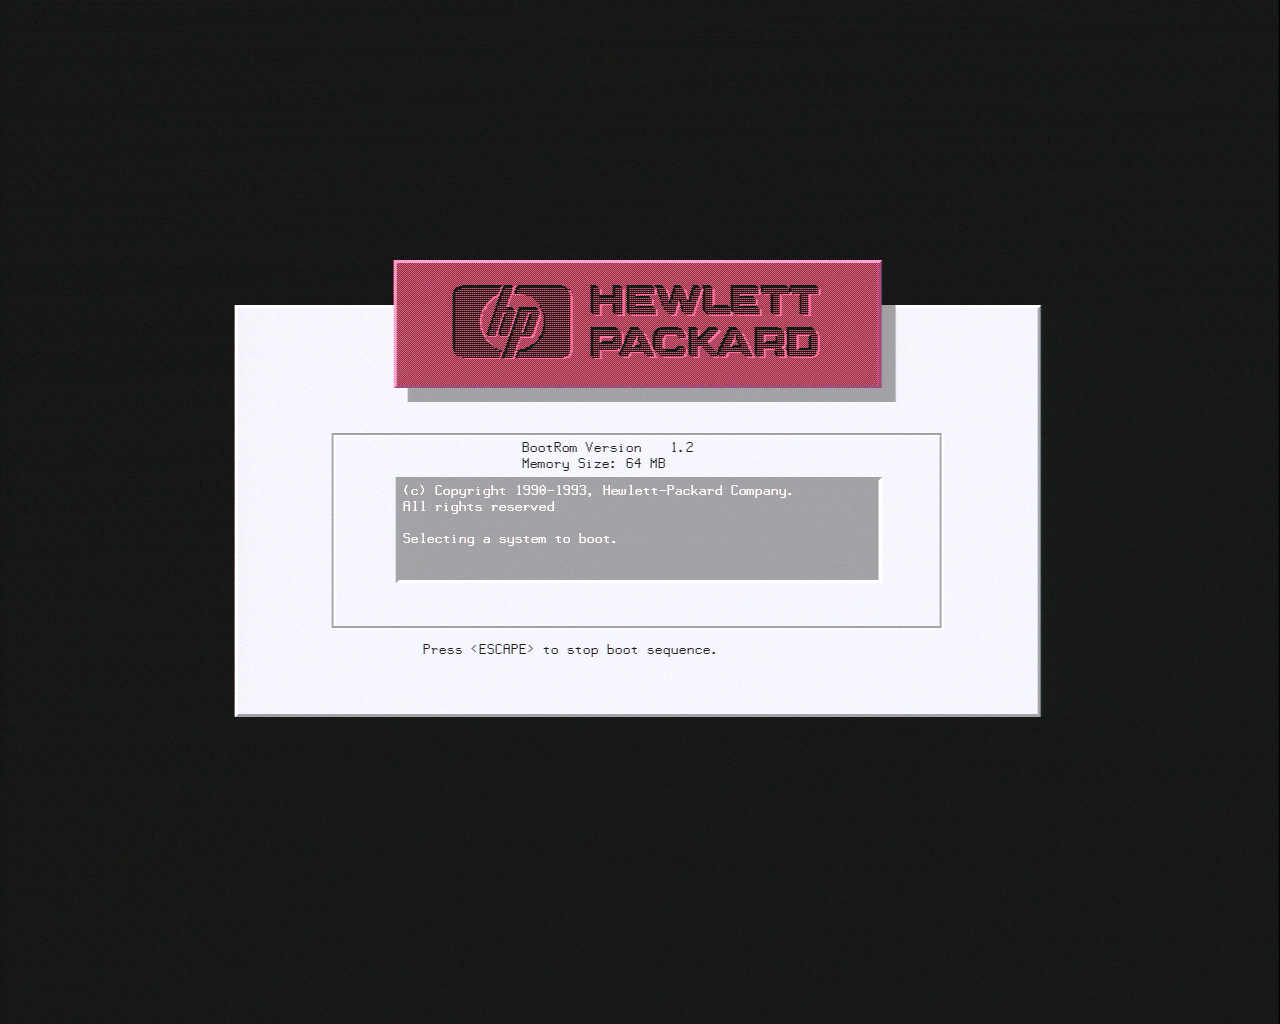
These subtle touches are part of what sets a workstation apart from a powerful PC. It was built to last and given attention in design that wouldn’t be worthwhile for commodity electronics.
Installation requirements
To get started using my HP 9000 Model 712, I needed:
- a hard disk - my 712 came without a disk (and judging by how clean the bracket was, I think it never had one). Anything SCSI2 should probably work.
- a CD-ROM drive - not only does my 712 not have a hard disk, but it also doesn’t have a floppy disk drive. Theoretically I could netboot the installer, but I’m pretty sure doing that without another working HP-UX computer is…non-trivial.
- a copy of HP-UX - HP doesn’t make HP-UX available for download without a support contract (which both requires money I don’t have and isn’t possible for 32-bit PA-RISC anymore). This seems kind of silly to me: you can only run HP-UX on HP hardware anyway (or maybe the small minority of PA-RISC and Itanium boxes that weren’t made by HP). HP-UX isn’t exactly the hottest ISO to seed on The Pirate Bay either.
- a keyboard - the serial console on the 712 is disabled by default - to enable it you need to have a PS/2 keyboard (at least temporarily).
While I didn’t have all the tools when my 712 first arrived from eBay, I eventually filled them (respectively) with:
- a SCSI2SD v5 (from from codesrc) with an 8GB microSD card. I’m very pleased to be able to avoid scrounging for 20-year-old SCSI hard drives that haven’t failed yet.
- a Sun-branded external SCSI CD-ROM drive. Some of my other pizzaboxes have had trouble with it - I think this is because I’ve been using a passive terminator. Thankfully, the 712 seems to have a tolerant SCSI bus and it worked perfectly.
- a copy of HP-UX 10.20 for 700 series machines. This was tricky to find! A friendly computer historian was willing to send me an ISO, but I’m not aware of one that’s publicly downloadable. Dear HP: please just post these.
- an IBM Space Saver Keyboard - I finally caved and picked up a PS/2 keyboard. I still intend to work on a USB-to-PS2 adapter (the “modern peripherals” part of the dream), but I really wanted to give the 712 a go.
Install process
-
Install the SCSI2SD: the default settings on the SCSI2SD seemed to work pretty well for the 712 - I only popped in a microSD card and updated the firmware. Because the 712’s disk mounting brackets are just pieces of foam, I didn’t need to worry about keeping the board away from conductive surfaces like I did for the SGI Indy. It just sits inside the foam clamshell.
So first off my HP 712 didn’t come with a disk, so the SCSI2SD is up to bat
— cron mom (@sophaskins) November 23, 2017
This pizzabox has a clever / bizarre styrofoam disk bracket? So I don’t need to do weird shit w command strips like I did for the Indy pic.twitter.com/n4OkX2oLZX -
Boot from the install CD: when presented with the unformatted SCSI2SD and an external SCSI CD drive, the 712 automatically picked to boot from CD.
-
Installation prep: Before the full installer, I was shown a dire warning message to not install a particular package (I guess that was easier than removing the package from the CD?) and presented with a simple menu to set up partitioning.
HP-UX uses VxFS and logical volume groups - pretty advanced for an OS from 1996! Once I selected a layout, a bunch of scripts ran (it looked like shell scripts run with
set -x) to perform the partitioning and set up the actual installer -
Package selection: The package selection UI is…intense. With hindsight, it looks like a text-mode version of SAM (the HP-UX management tool). As a beginner, it took a bit to figure out how to inspect packages:
Because it is.
— cron mom (@sophaskins) November 23, 2017
It took me a sec to figure out the flow for figuring out what is IN a package: pic.twitter.com/sk2C1Dwf5U -
Copying files: with packages selected, the installer analyzed my choices and began to copy files…very slowly. The pizzaboxes have reminded me of how far software installation has come - these days if setting up an OS takes more than 10 minutes I look to see if something is wrong! For the 712, the process took several hours.
-
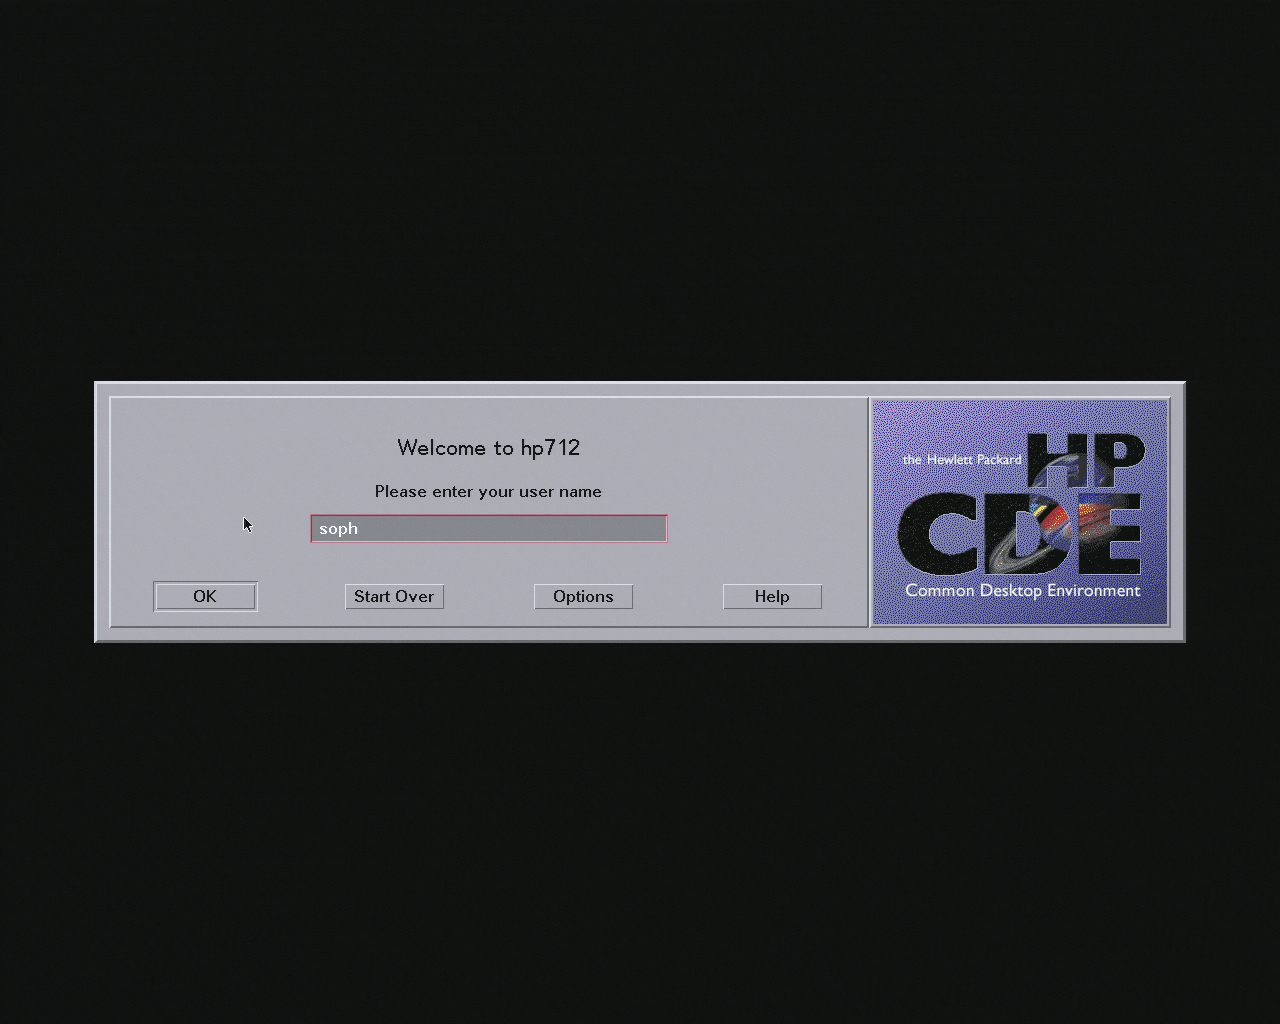
Post-install setup: after install, the computer reboots and eventually comes up in to an X Windows UI to choose timezone and root password.
-
First login: I thought at this point I was home free - time to dive in to HP-UX! Unfortunately, when I’d log in, CDE would appear to initialize, die, and I’d be kicked back out to the login screen.
-
Remember to set DNS: after a bunch of fruitless debugging, the problem turned out to be that I had configured the 712 to believe that it had a real resolvable domain name. On my home network, those are configured by making a MAC address reservation in my router, which I hadn’t done yet. Adding the reservation and registering the name got the ball rolling again, and I was able to log in. Success!
First impressions
I mentioned the surprisingly classy POST screen in the introduction, but the text-mode niceties don’t stop there: the 712 displays some “soft buttons” whenever you’re at a console.
This seems to be an HP-ism (I’ve seen it on their block terminals as well) and while I can’t see myself changing any of the settings while using HP-UX, it still seems pretty cool.
By the time HP-UX 10.20 was released, the Unix wars had cooled down a bit and commercial Unixes had mostly settled on the same CDE desktop tools.
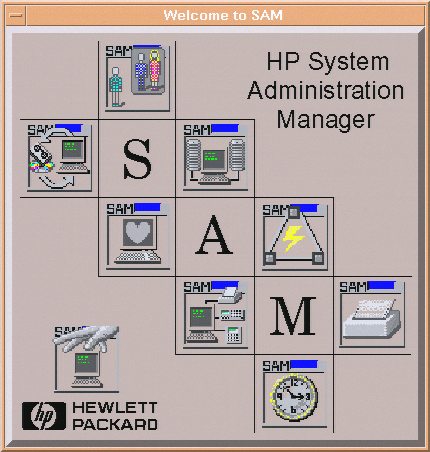
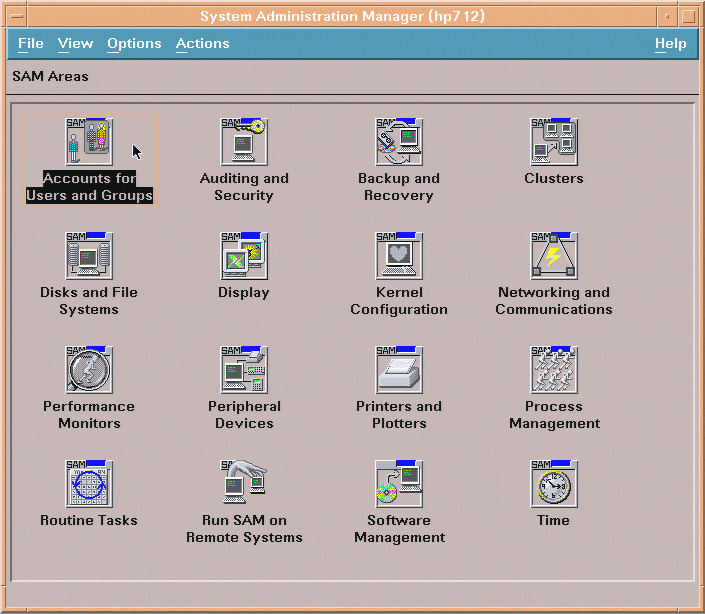
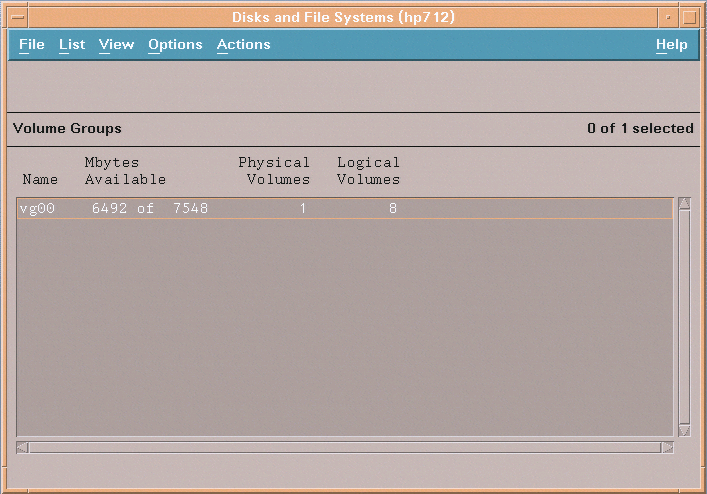
The only HP-UX specific tool of note that comes by default is SAM: the System Administration Manager. It’s like a control panel, but with much deeper hooks in to the system than is typical. The configuration pages themselves seem to be made with a common toolkit, and the interface is quite similar to the text-mode package chooser I ran in to in the installer. My money is on them being related.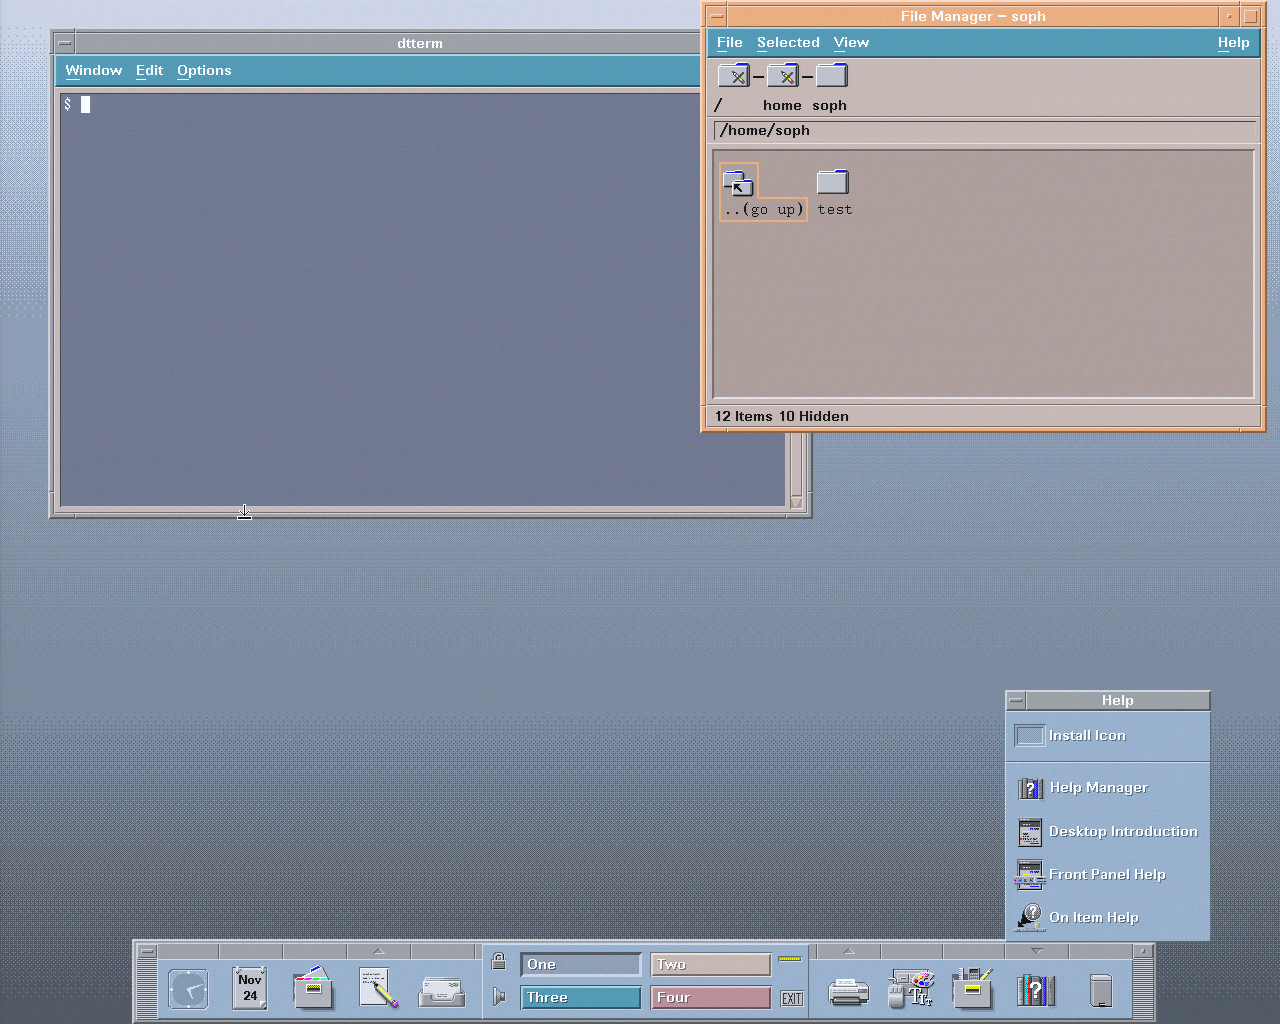
I was able to (with no configuration!) access files on my NAS via NFS by just browsing to /net/the.fqdn.of.the.nas/share.name/, so I grabbed an HP-UX package of Netscape Navigator 4.0. Unfortunately (like with all of the pizzaboxes), its TLS ciphers are too old to load nearly anything on the 2018 internet.
Where to go from here
This is definitely only the beginning! As with all the pizzaboxes, I want to develop a GUI application for the 712 and also do a project using software that folks typically ran on HP-UX boxes. Have you ever used an HP-UX computer? Do you have memories or leads on where I could find software you think is important? I’d love to hear about it via email: sophie@pizzabox.computer.
Since the install chronicled in this post, I’ve also experimented with running NeXTstep on the 712! Keep an eye out for a post about that in the future.