Booting the SPARCstation
The SPARCstation was the first pizzabox I was able to connect a serial cable to and turn on. As its self-tests scrolled by (first try!), I had high hopes…
y'all pic.twitter.com/jiEKOHn22l
— cron mom (@sophaskins) August 15, 2017
…that were quickly dashed - neither of its two internal SCSI hard disks seemed to be able to boot. The SPARCstation went to the back burner for a while as I focused on booting the Indy. Getting further meant booting from some other source - requiring tools I didn’t have at hand:
- an ethernet connection and a way to netboot (the SPARCstation has an AUI connector, not 10Base-T, and I didn’t have a transceiver)
- a bootable floppy disk - seems to require an existing SPARC system
- an external SCSI CD drive to boot from an install disc
A few weeks later I acquired an AUI -> 10Base-T transceiver, so I dug in to netbooting. Solaris 7 (the most recent OS supporting the sun4c family) has instructions and scripts for setting up a netboot server, but they encode a lot of assumptions about running on Solaris. I tried running from a Solaris 10 virtual machine, but the scripts (written to target Solaris 7) were incredibly incompatible.
Progress on booting stalled again…
A wild CD-ROM appears!
…until I procured a CD drive!
In the continuing saga of “oh no what have I done”, I bring you: a CD ROM drive pic.twitter.com/VihjmIy0O0
— cron mom (@sophaskins) October 14, 2017
Finding the right CD drive was quite a task - SCSI CD-ROM drives aren’t exactly prevalent in 2017, nor are external enclosures that can provide a SCSI device with power and the right connectors. The pickings for original external CD drives on eBay were quite slim (including many that needed power adapters that weren’t included 😢). In a stroke of luck, I eventually found one that wasn’t an outrageous price, and a Sun-branded one to boot!
When I bought it I didn’t realize just how lucky this was: it turns out that older Sun computers (like mine) use an unusual CD-ROM block size of 512 bytes (typical sizes range from 2048 to 2352 bytes). Despite several people mentioning to me that the one I had bought likely supported the 512 size, and a quite detailed guide available to explain why ending up with a Sun model was a good thing, I still managed to only get this one by chance. A happy accident!
Naturally, the first thing I did with my new drive was try to boot the SPARCstation. Though it’s not quite USB, setting up a SCSI drive is reasonably simple:
- plug in external power - the enclosure was large enough to have an internal power supply and use a standard computer power cable
- connect a SCSI cable to the drive and the SPARCstation
- make sure the drive is set to a “reasonable” non-conflicting SCSI address (apparently 6 is a common choice)
- attach a terminator to one of the drive’s SCSI ports:
Lol check out this totally unbranded terminator monoprice sold me pic.twitter.com/9i7N3tuFo9
— cron mom (@sophaskins) October 16, 2017
Investigate the existing OS
The first order of business was to boot from the OS install disk to a shell and see if the already installed OS was salvageable. The installation docs say that at the ok prompt you should be able to do
ok boot cdrom
to get to the installer, and
ok boot cdrom -s
to boot from the CD in to a single-user mode root shell. My SPARCstation 1+ is old enough that its firmware doesn’t have a concept of cdrom as a valid boot target. A footnote thankfully informed me:
For systems with older EEPROMs, replace cdrom with sd(0,6,2) to boot from the system’s CD-ROM.
That worked! The first thing I tried was mounting the internal drives, which immediately failed and asked me to run fsck. Of the partitions, fsck found plenty of errors and only managed to make a few of them mountable. None of it was interesting or useable stuff (I think I got like, a / partition? but no /boot or /usr), so I made the call to wipe it and re-install:
sparcstation# format
Searching for disks...done

AVAILABLE DISK SELECTIONS:
       0. c0t3d0 <SUN0424 cyl 1151 alt 2 hd 9 sec 80>
          /sbus@1,f8000000/esp@0,800000/sd@3,0
Specify disk (enter its number): 0
selecting c0t3d0
[disk formatted]


FORMAT MENU:
        disk       - select a disk
        type       - select (define) a disk type
        partition  - select (define) a partition table
        current    - describe the current disk
        format     - format and analyze the disk
        repair     - repair a defective sector
        label      - write label to the disk
        analyze    - surface analysis
        defect     - defect list management
        backup     - search for backup labels
        verify     - read and display labels
        save       - save new disk/partition definitions
        inquiry    - show vendor, product and revision
        volname    - set 8-character volume name
        !<cmd>     - execute <cmd>, then return
        quit
format> format
Ready to format. Formatting cannot be interrupted
and takes 16 minutes (estimated). Continue? y
Beginning format. The current time is Tue Oct 17 16:21:55 2017

Formatting...done
Warning: no backup labels

Verifying media...
        pass 0 - pattern = 0xc6dec6de
   1150/8/62

        pass 1 - pattern = 0x6db6db6d
   1150/8/62

Warning: no backup labels
Total of 0 defective blocks repaired.
format>
time to reboot and do a real install!
Installation
The Solaris install process starts with a few questions about your language, locale, and terminal type. It then launches a curses-style install program to get details about your networking situation and time-zone settings. Finally, it informs you:
System identification is completed.
…and hangs for about 20 minutes without any more output. The first few times this happened I was convinced I had done something wrong - maybe the installer was angry about me not using the framebuffer for install, or a RAM chip was bad, or something. It turns out it was just…thinking about stuff. After the long wait, the curses-style installer comes back:
- Solaris Interactive Installation ---------------------------------

  You'll be using the initial option for installing Solaris software
  on the system. The initial option overwrites the system disks when
  the new Solaris software is installed.

  On the following screens, you can accept the defaults or you can
  customize how Solaris software will be installed by:

- Allocating space for diskless clients or AutoClient systems
- Selecting the type of Solaris software to install
- Selecting disks to hold software you've selected
- Specifying how file systems are laid out on the disks

  After completing these tasks, a summary of your selections (called
  a profile) will be displayed.

--------------------------------------------------------------------
     F2_Continue    F5_Exit    F6_Help
I went with the default partitioning and the basic set of packages that would fit on the small hard drive. The install proper took around two hours - a big reminder that this tech isn’t from 2017! At completion, the installer installed a handful of patches and rebooted the machine.
First boot
Post-install, things came up pretty smoothly (except for a bunch of network errors - I didn’t have the ethernet cable plugged in)
SPARCstation 1+, No keyboard.
ROM Rev. 1.3, 64 MB memory installed, Serial #12648430.
Ethernet address 8:0:20:c0:ff:ee, Host ID: 53c0ffee.

Testing
Booting from: sd(0,0,0)vmunix
SunOS Release 5.7 Version Generic_106541-08 [UNIX(R) System V Release 4.0]
Copyright (c) 1983-1999, Sun Microsystems, Inc.
configuring network interfaces:le0: No carrier - transceiver cable problem?
 le0.
Hostname: sparcstation
Warning: failed to open /dev/dump (No such file or directory):
run dumpadm(1M) to verify dump configuration
Configuring /dev and /devices
Configuring the /dev directory (compatibility devices)
The system is coming up. Please wait.
Configuring network interface addresses: le0.
RPC: Timed out
starting routing daemon.
starting rpc services: rpcbindkeyserv: failed to generate host's netname when establishing root's key.
 keyserv done.
This being the first boot, I was prompted to make a root password:
On this screen you can create a root password.

A root password can contain any number of characters, but only the
first eight characters in the password are significant. (For
example, if you create `a1b2c3d4e5f6' as your root password, you
can use `a1b2c3d4' to gain root access.)

You wil be prompted to type the root password twice; for security,
the password will not be displayed on the screen as you type it.

> If you do not want a root password, press RETURN twice.

Root password: _


Press Return to continue.
Finally, I made it to a shell!
System identification is completed.
Setting netmask of le0 to 255.255.255.0
Setting default interface for multicast: add net 224.0.0.0: gateway SPARCstation
syslog service starting.
Print services started.
volume management starting.
The system is ready.

sparcstation console login: root
Password:
Sun Microsystems Inc.   SunOS 5.7        Generic October 1998
# hostname
sparcstation
#
From shell to desktop
From here, setting up X and connecting a remote X session was pretty simple (in no small part because of the helpful manual):
- I enabled the login manager to start at boot time with
/usr/dt/bin/dtconfig -e - enabled the font server to start at boot time with
fsadmin -e - rebooted to let those take effect (and to clear any gremlins from first boot, because I’m superstitious)
- point my remote X session at the SPARCstation!
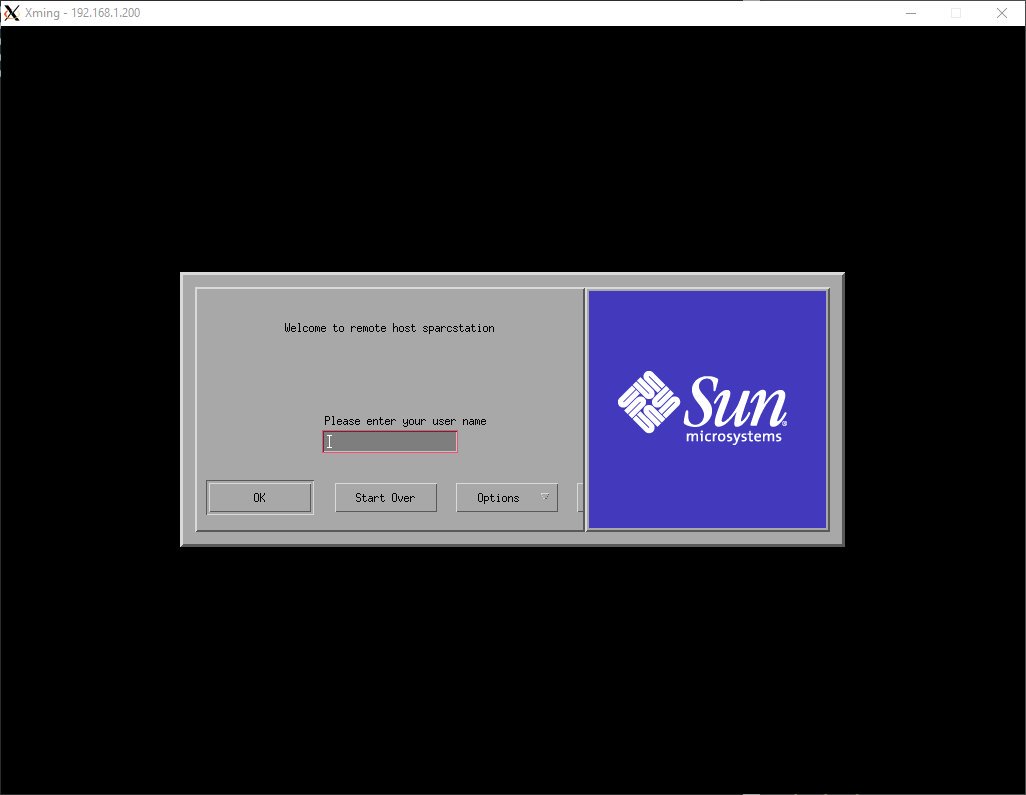
Logging in as root gave me a pretty rad splash screen:
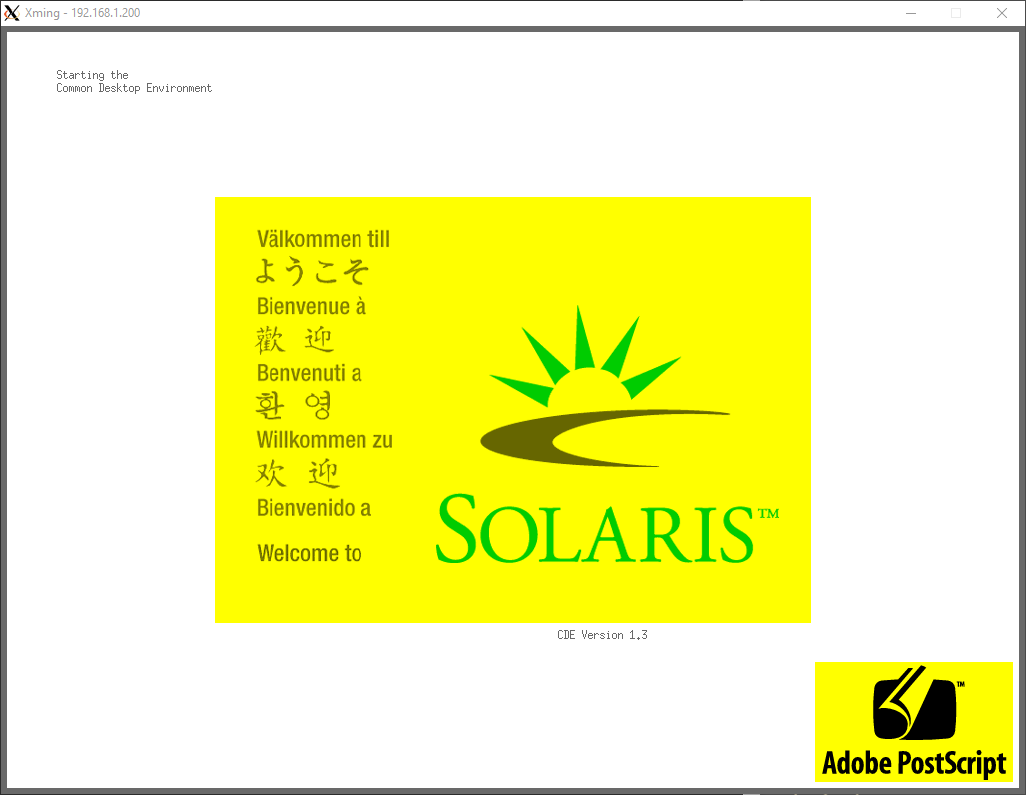
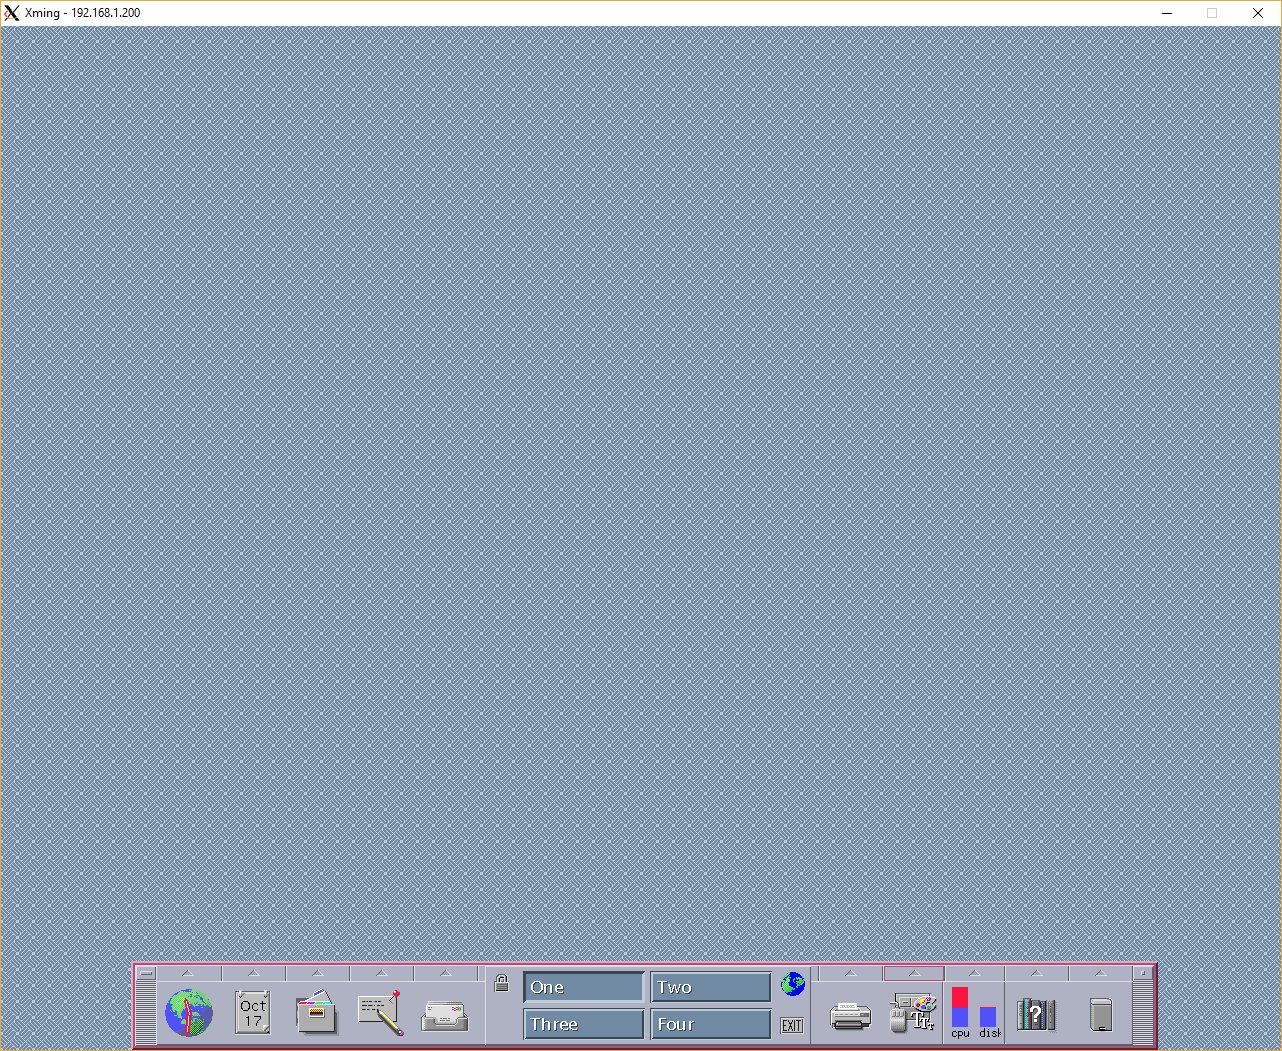
and eventually a pretty standard CDE desktop:
I haven’t dug too deeply in to what sorts of things are installed by default, but one notable application was the Sun Hot Java web browser:
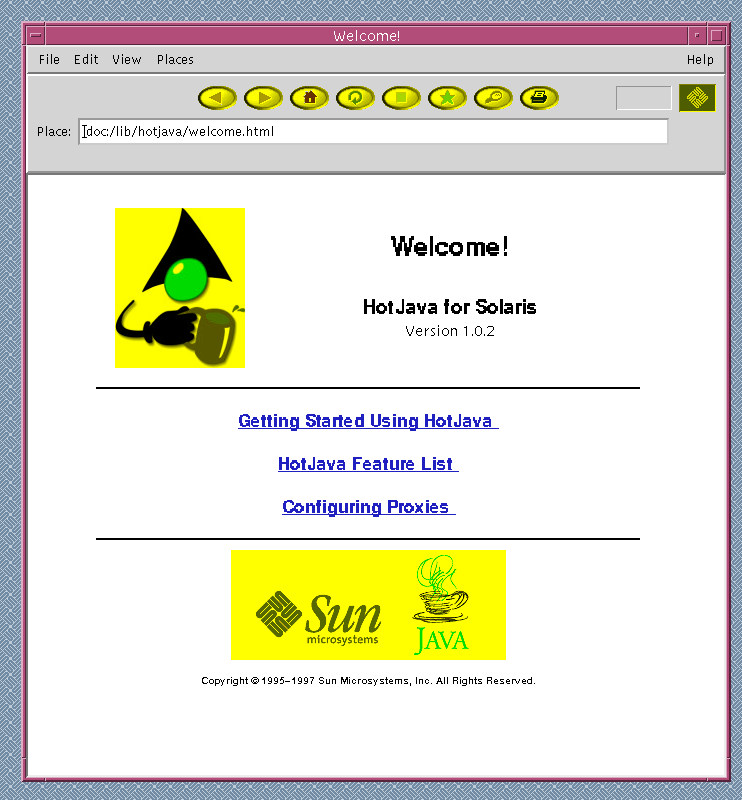
A pretty satisfying reward for the effort of installing! Since I did this install (about a month ago!), I’ve re-installed an older version of Solaris (it was quite bogged down running 7 - I’m now trying out 2.4) and started using both hard disks installed (so I don’t have to skimp on installed packages). I’m hopeful to get a development setup working soon!